How to Autofill in Excel without dragging
You can autofill in Excel without dragging using the growth option, SEQUENCE function, and flash fill. You can find both the growth options in the “Home” tabs under the “Fill” option. I will go through the process in detail.
What is autofill in Excel?
Autofill is a feature that can fill a series of cells in columns or rows. It can automate the whole process with just one click.
You can select a cell and fill a series of cells in any direction, whether it is right or left or up or down. No matter what type of data, it can automate all, whether numeric or numbers, texts, or dates, or mixed with all types of data.
You can always choose between dragging in a series or auto-filling. But why waste time on tiresome work when you can do the same job in seconds?
In the next section, I will try to show you some methods on how to autofill in Excel without dragging.
I’m going to start with a simple example. If you have never used “fill handle” before, here is how you can do it.
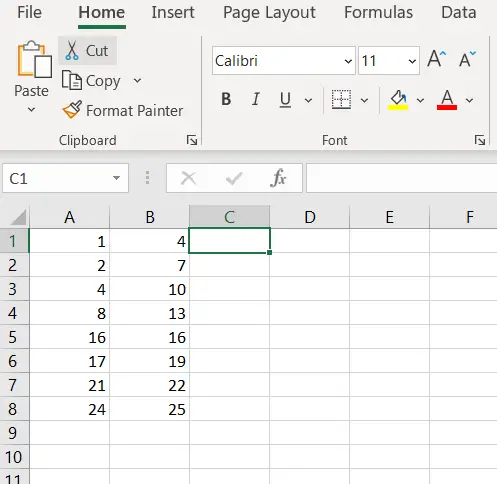
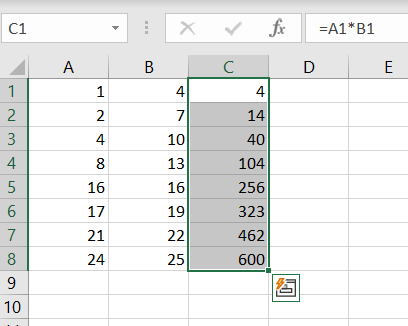
You have two columns of numbers. You want to multiply them. You can go to the exact right side of the last column you put your data. Now, you can put your formula into the cell.
Here is how.
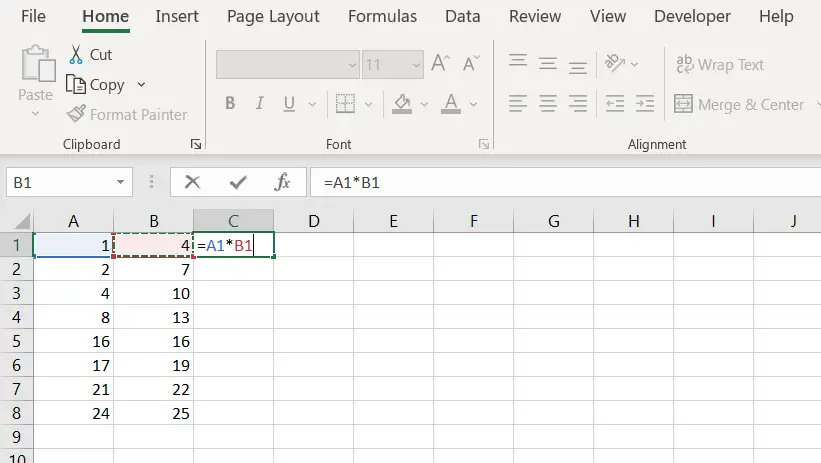
Now, if you press enter, you will see this.
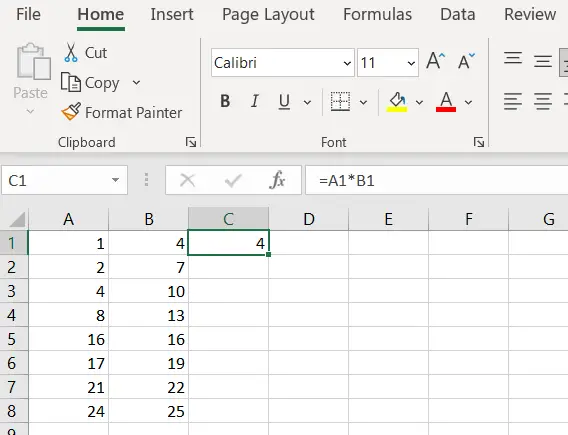
Now, if you want to fill the rows of that column, you can drag down. But you can also do it in one click. As you can see, there is a “Green rectangular box” on the right side of that cell.
As you “Double click” that box, you will see this.
Cool, right?
This is very much efficient and we can just calculate thousands of rows and columns in just two clicks.
We can also calculate in rows in the same way.
Quick tips: if you can not find your fill handle, or if it is not visible, you can enable it.
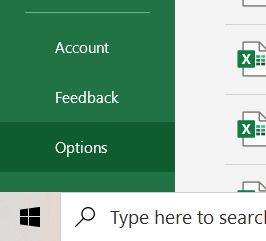
- Click the “File” option in the far upper left corner.
- Click on the “Options” in the left below the corner.
- Click on the “Advanced” option.
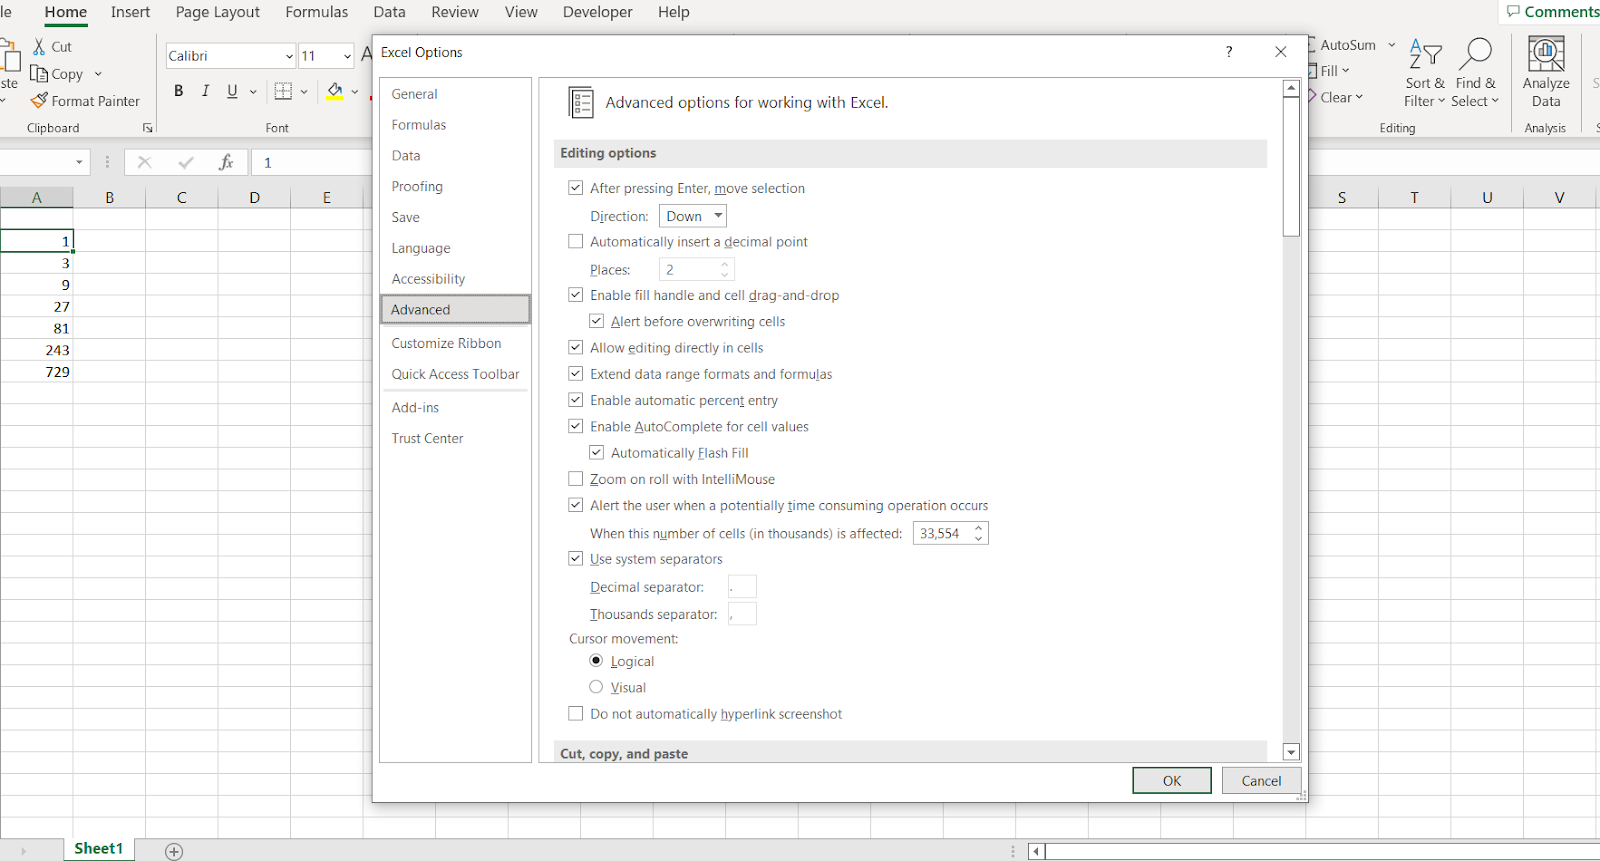
- Go to the “Editing options” and tick the “Enable fill handle and cell drag-and-drop” option.
This way, you can enable the fill handle option.
Now, let’s see what else we can do with this.
Can we fill up an entire column in just a few clicks using Excel magic? Yes, we can. Let’s see how.
Autofill numbers in Excel without dragging
With this method, we will use the “Series” or “Fill series” method.
First, you want to fill a column from 1 to 100. But if you drag it, this process is not efficient.
So,
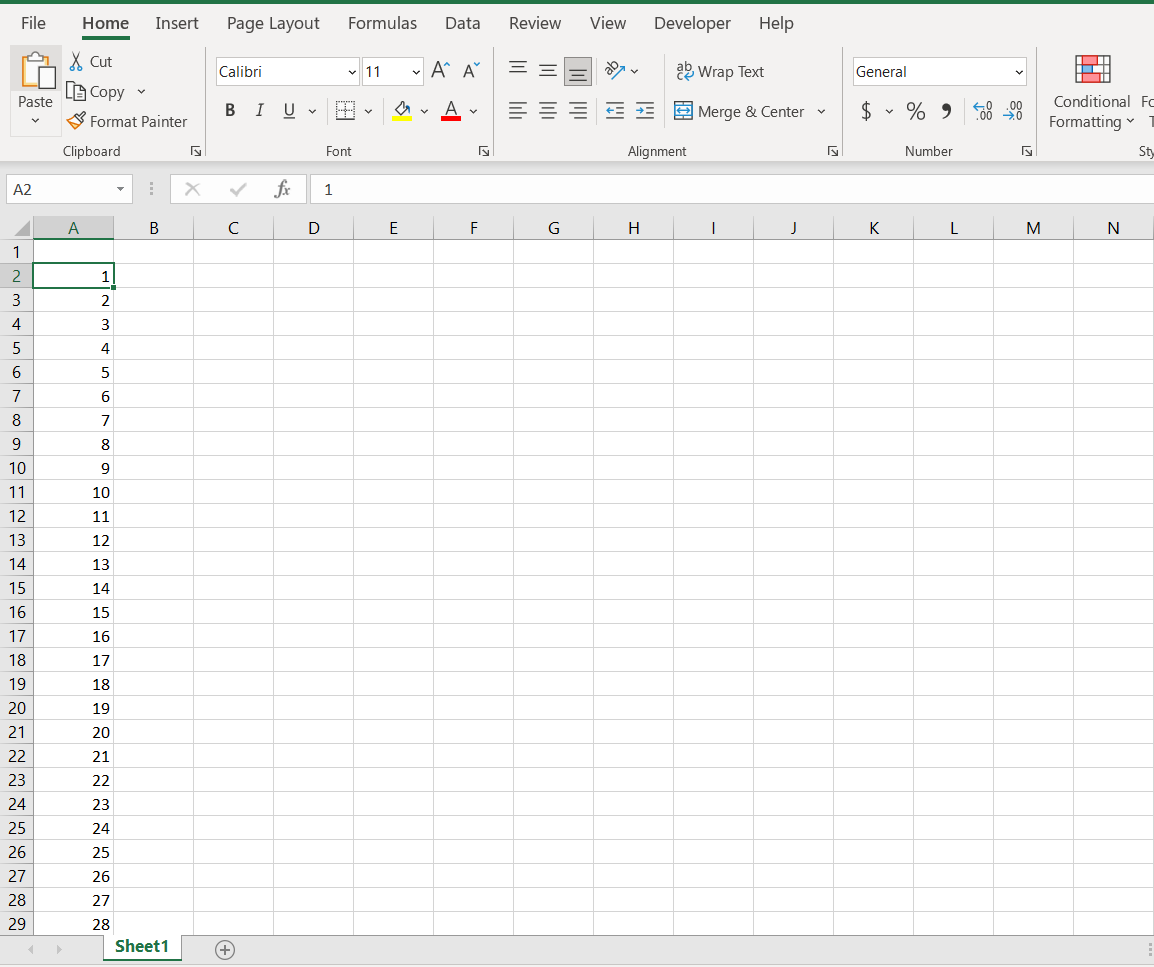
Step 1: Select any cell and put 1 in that cell. I’m going to put it in A2.
[Quick note: It is always a good practice to start filling your cell with numbers or text from the “A” column. ]
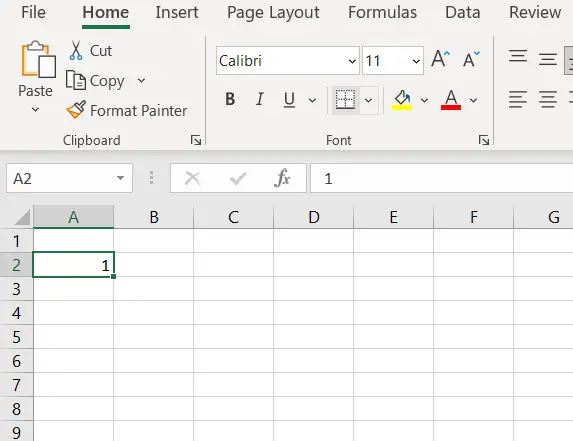
Also, select that cell, or else this process will not work.
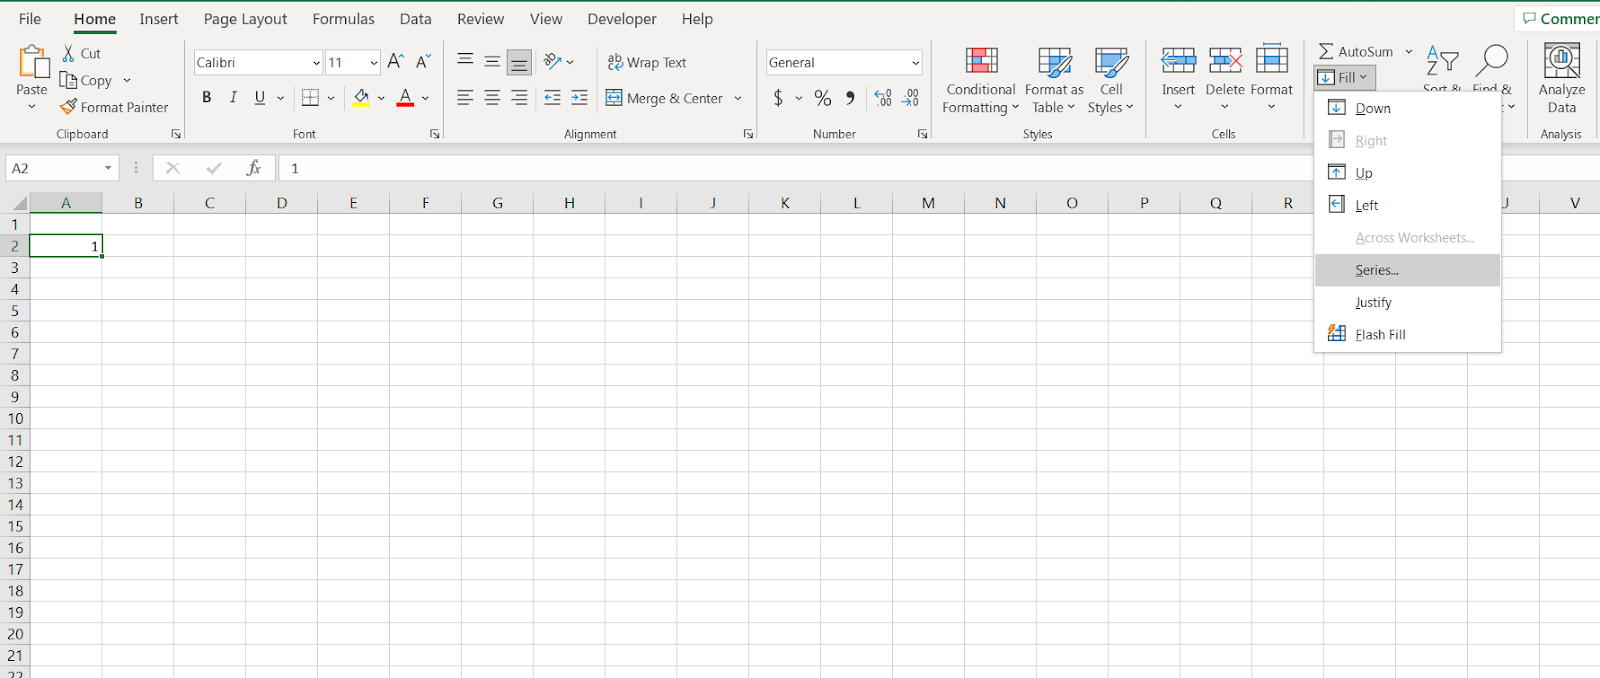
Step 2: Go to the home ribbon if you are not already in that ribbon.
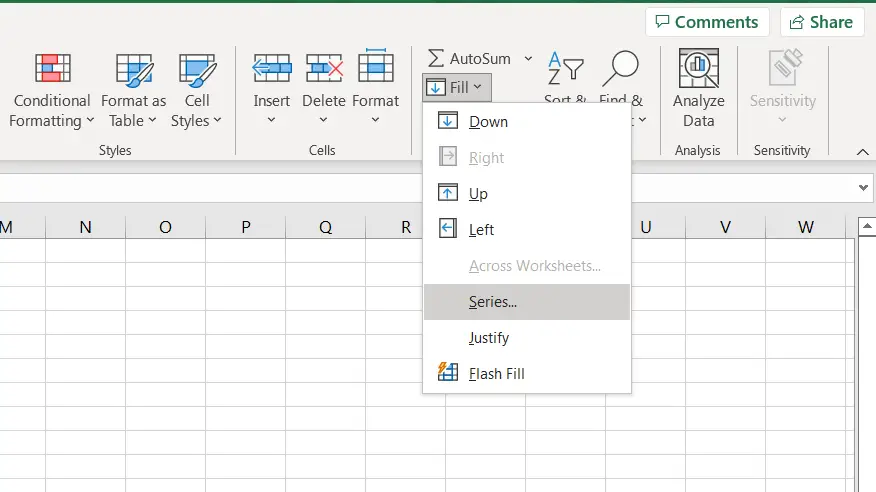
Step 3: Select “Fill” from the editing section
Step 4: Select the “Series” option. It is also called the “Fill Series”
After selecting that option, you will see this.
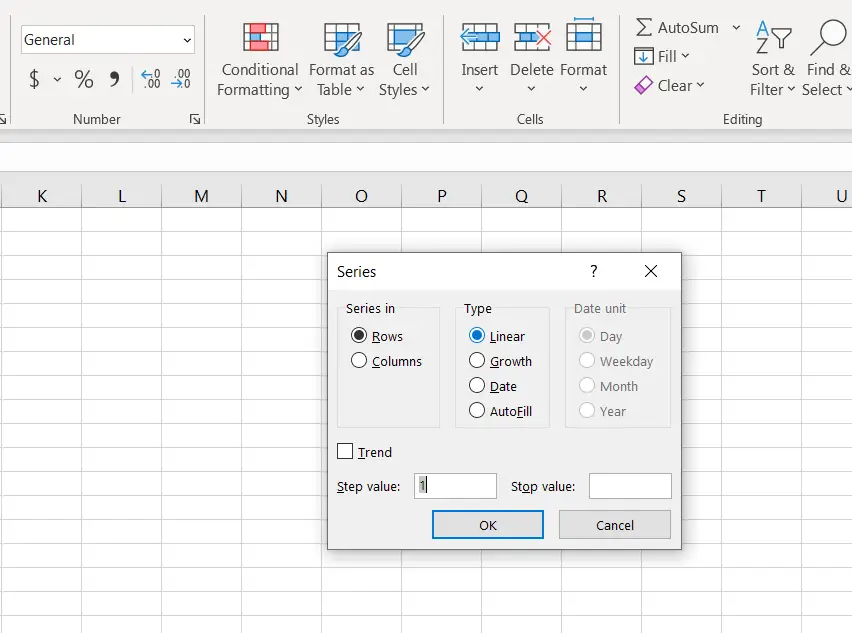
Here, there are so many options. But we want to just fill the column from 1 to 100.
Step 5: Change the “Series in” from “Rows” to “Columns.” The type will be “Linear,” as we want the data to be linear.
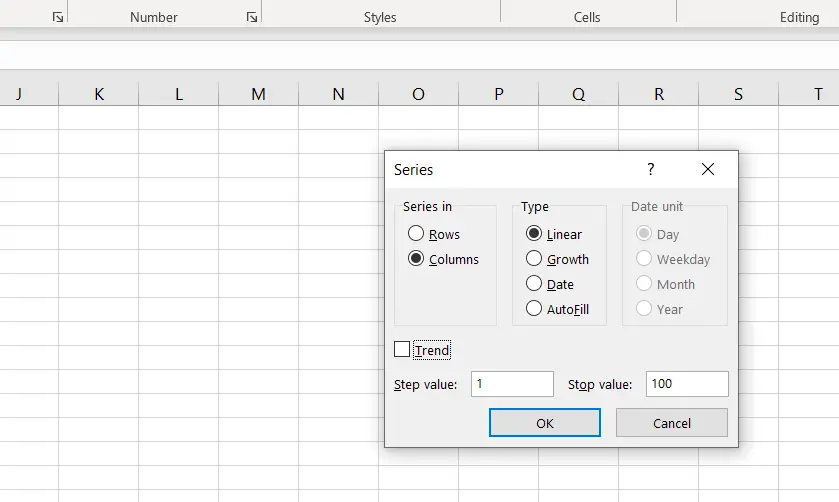
Step 6: Put “Step value” to 1 and “Stop value” to 100. Because we 100 data from 1 to 100.
As you input this and select ok. It will show this.
As you can see, in this method, we can quickly fill the whole column from any number to any number you want. We can fill the column from 20 to 1000000 if we want.
So now we have learned how to autofill numbers in Excel without dragging. What else can we do?
Can we only fill odd or even numbers in a column? Yes, we can. Let’s see how we can do this.
We will do the same process from step 1 to step 4 as before.
But in steps 5 and 6, we will do this to fill the column with an even or odd number.
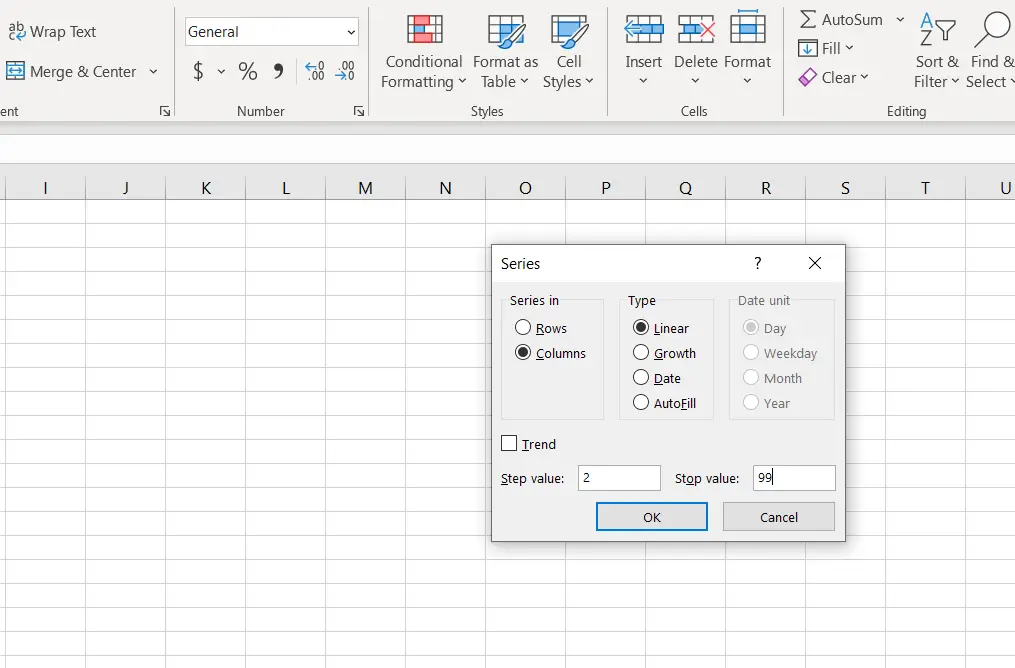
Everything will be the same, but we will change the “Step value” to 2 and the “Stop value” to 99.
And excel will do the magic and show us this.
See? That was easy. We can fill the column with even numbers just by doing the same process. Just put an even number like 2, 4, or 6 in the “Step 1”.
As we were filling out the columns, we saw that there was a “Growth” option in that box.
Now, we are going to learn how to use growth in the fill series in Excel.
Autofill numbers in Excel without dragging using the growth option
So the concept is, that we want to calculate how many numbers there are that can be divided by a specific number or want to see growth for a specific number.
For example, we want to know how many numbers can be divided by 3 from 1 to 1000.
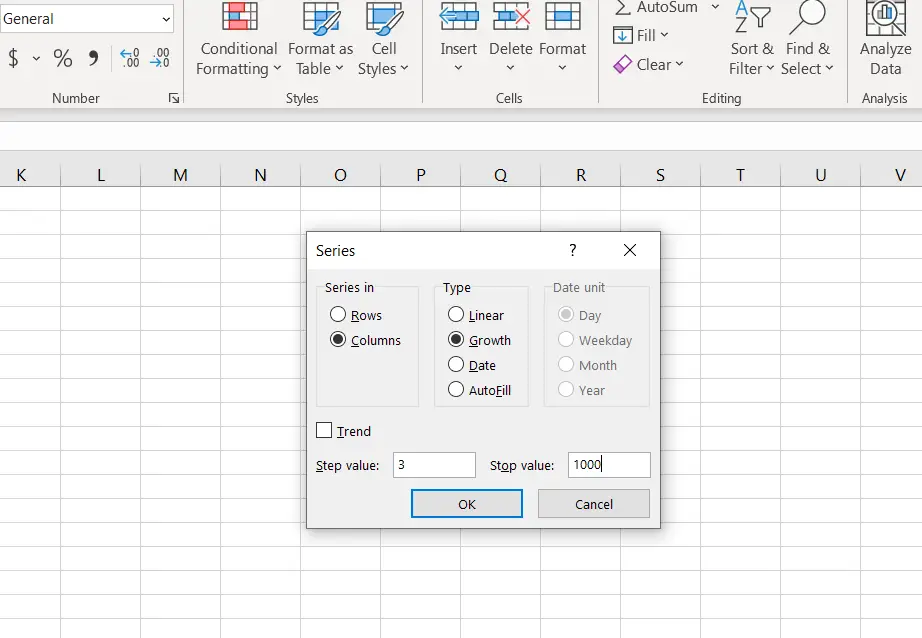
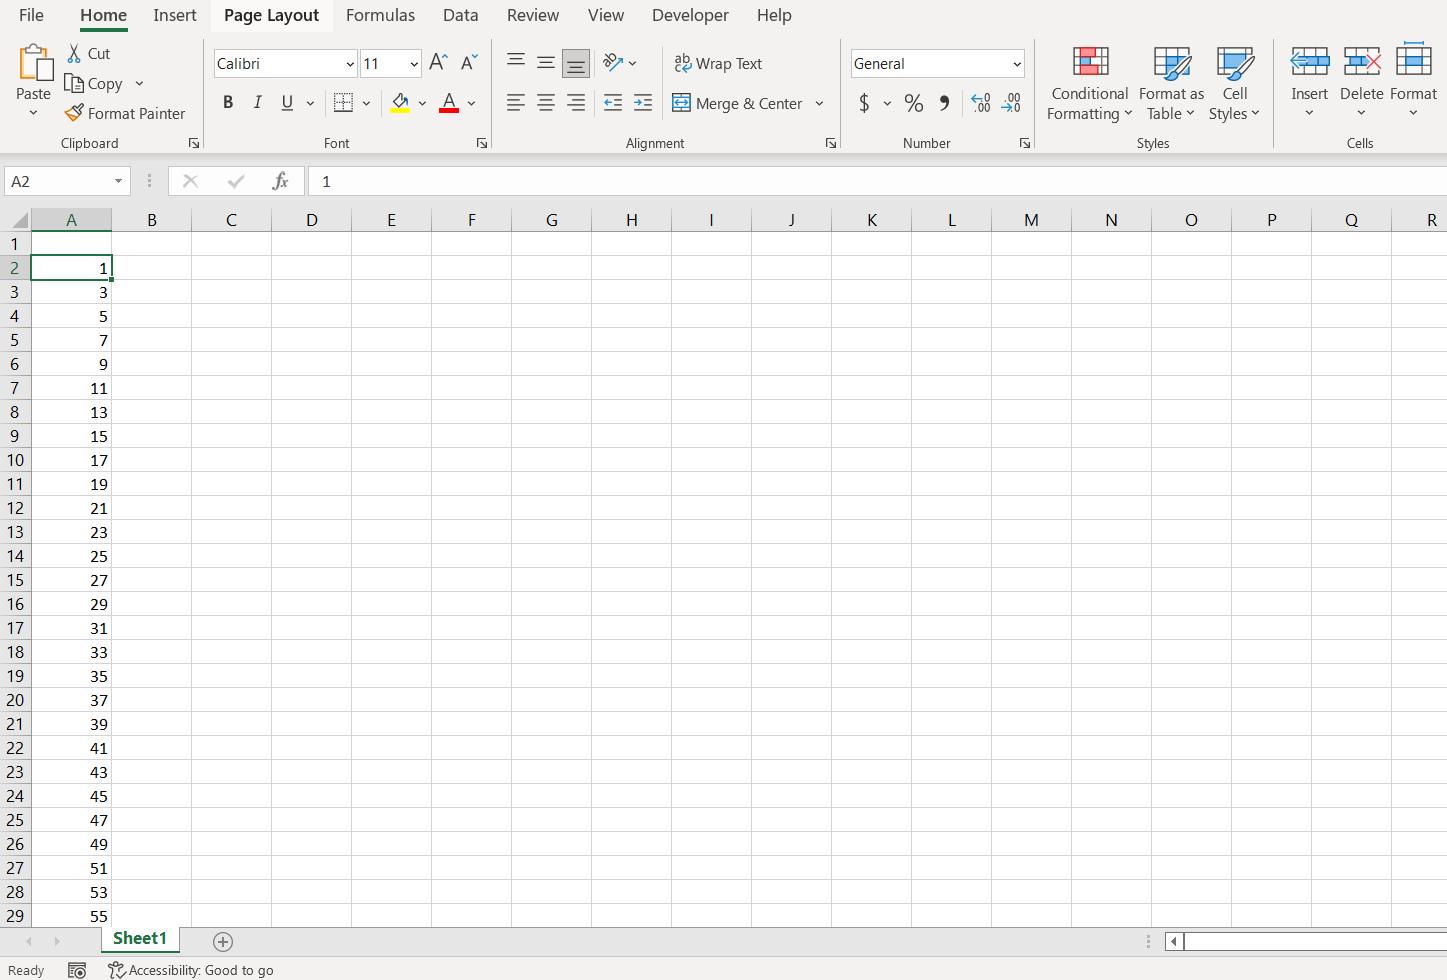
In the fill series box, we will put 3 in “Step value” and “Stop value” at 1000 and select “Growth.” And it will show this.
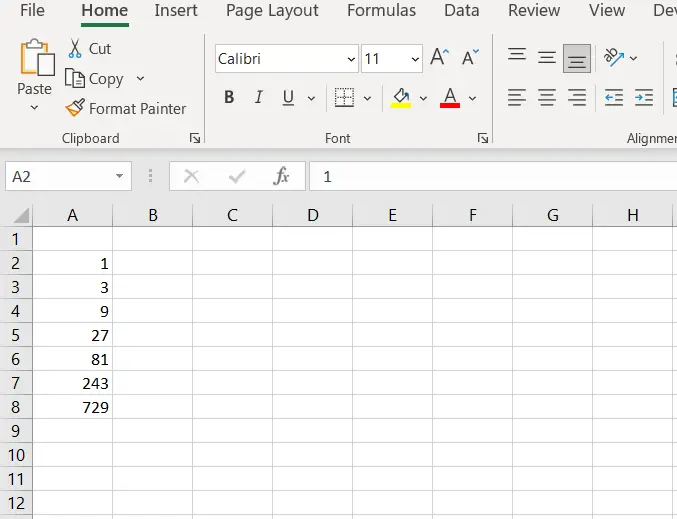
As we can see, it shows all the numbers between 1000, which are multiples of 3.
= 1*3 = 3
= 3*3 = 9
= 9*3 = 27
= 27*3 = 81
= 81*3 = 243
= 243*3 = 729
In this way, we can calculate any number of growth.
We can also get the result of even numbers from any number to infinity if we want.
Another important thing is you can also do this in rows. Just use the same process step by step, and you are good to go.
Now, we will learn how to apply the SEQUENCE function to Autofill Numbers in Excel.
Autofill numbers in Excel without dragging using the SEQUENCE function
This is a very easy process.
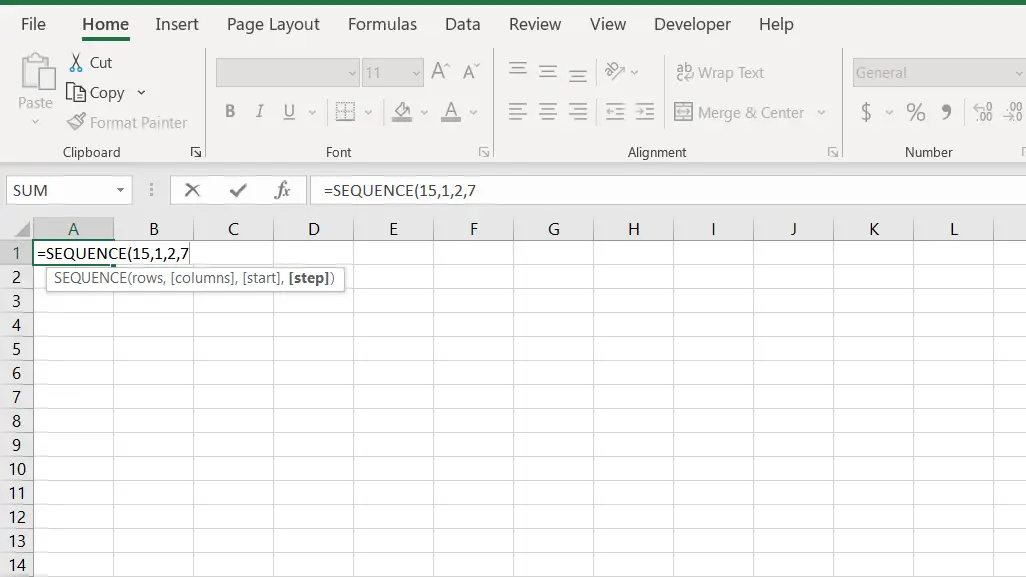
We want to fill a column with numbers that have a difference of 7, and it starts from 2. We want 15 numbers of which fulfill the criteria.
But first, let’s explain the “SEQUENCE” function briefly.

As we can see, the sequence function has 4 different arguments to fulfill.
- rows= How many rows we want to fill. In this case, it is 15.
- columns= how many columns are gonna be there, which is 1 in this scenario.
- start= From which number we want to see the data which is 2.
- step= how many numbers of gaps are gonna be there, and it is 7.
So, let’s put this function into action.
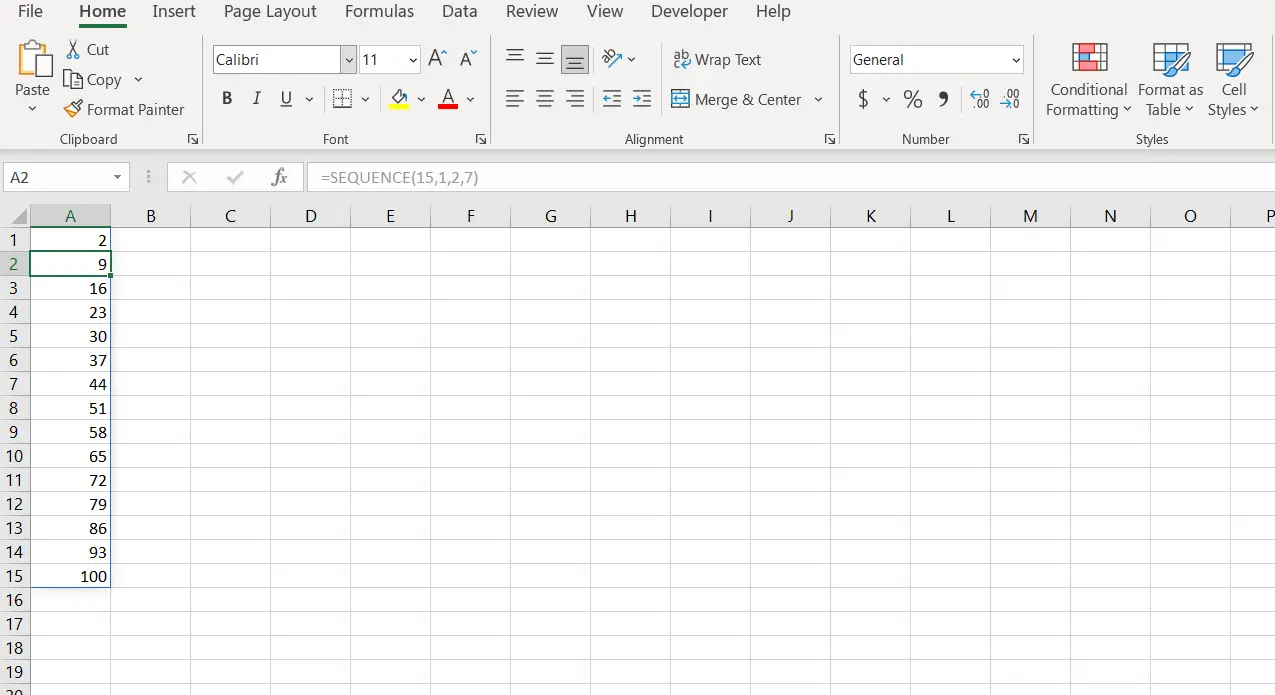
After pressing the enter button, excel will fill the column with 15 values with gaps of 7.
We can do many exciting things with this function. We will learn more about it in another article.
Now, let’s see the use of extracting numbers from cells that contain text and numbers.
Autofill numbers in Excel without dragging using flash fill
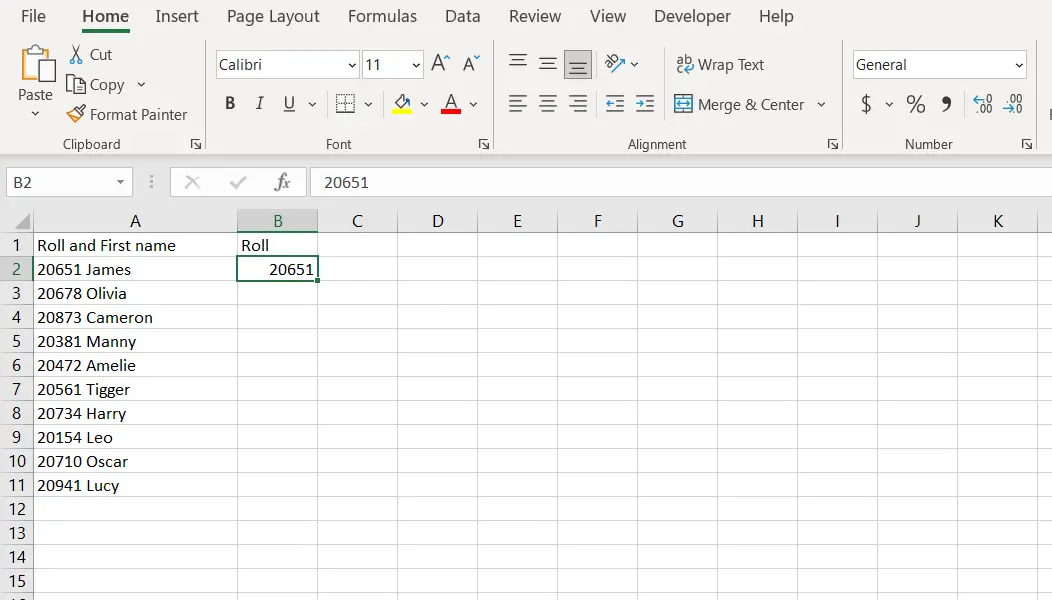
For example, we have data on students from a class. In that cell it contains the data with the first name of those kids and their roll.
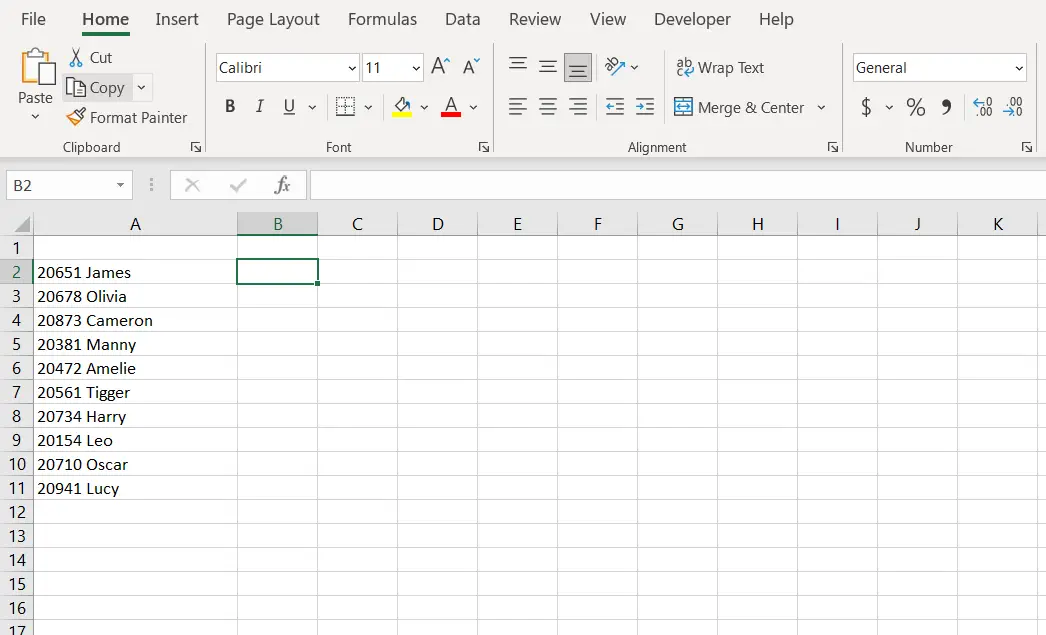
Now, we want to extract the roll number from that cell. How can we do it?
The process is pretty much what we learned before but in 2 steps.
Step 1: Type in the first roll (or number) from that cell like this.
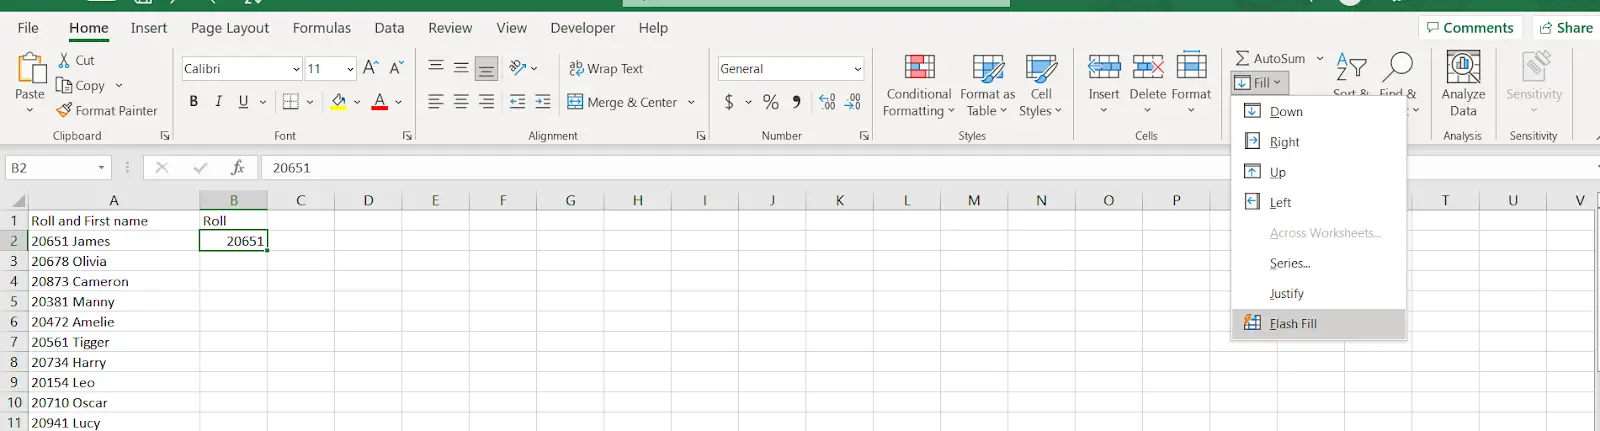
Step 2: Click on the fill option from editing and click the option “Flash Fill”.
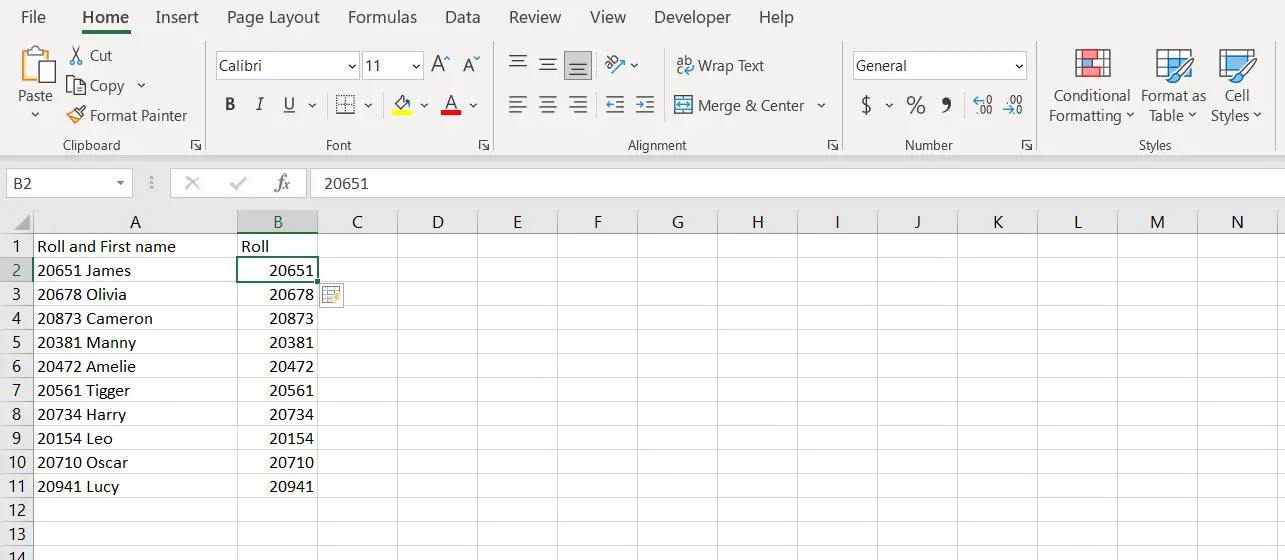
Now, this will show all the rolls or numbers from that column.
Now that we have covered pretty much everything we can do with numbers using series fill, we can move to the next section, which is dates.
Autofill dates in Excel without dragging
We want to fill a column that contains all the dates of a month.
For example, we want to fill a column from March 1 to 31, 2022.
How can we do this?
Let’s see.
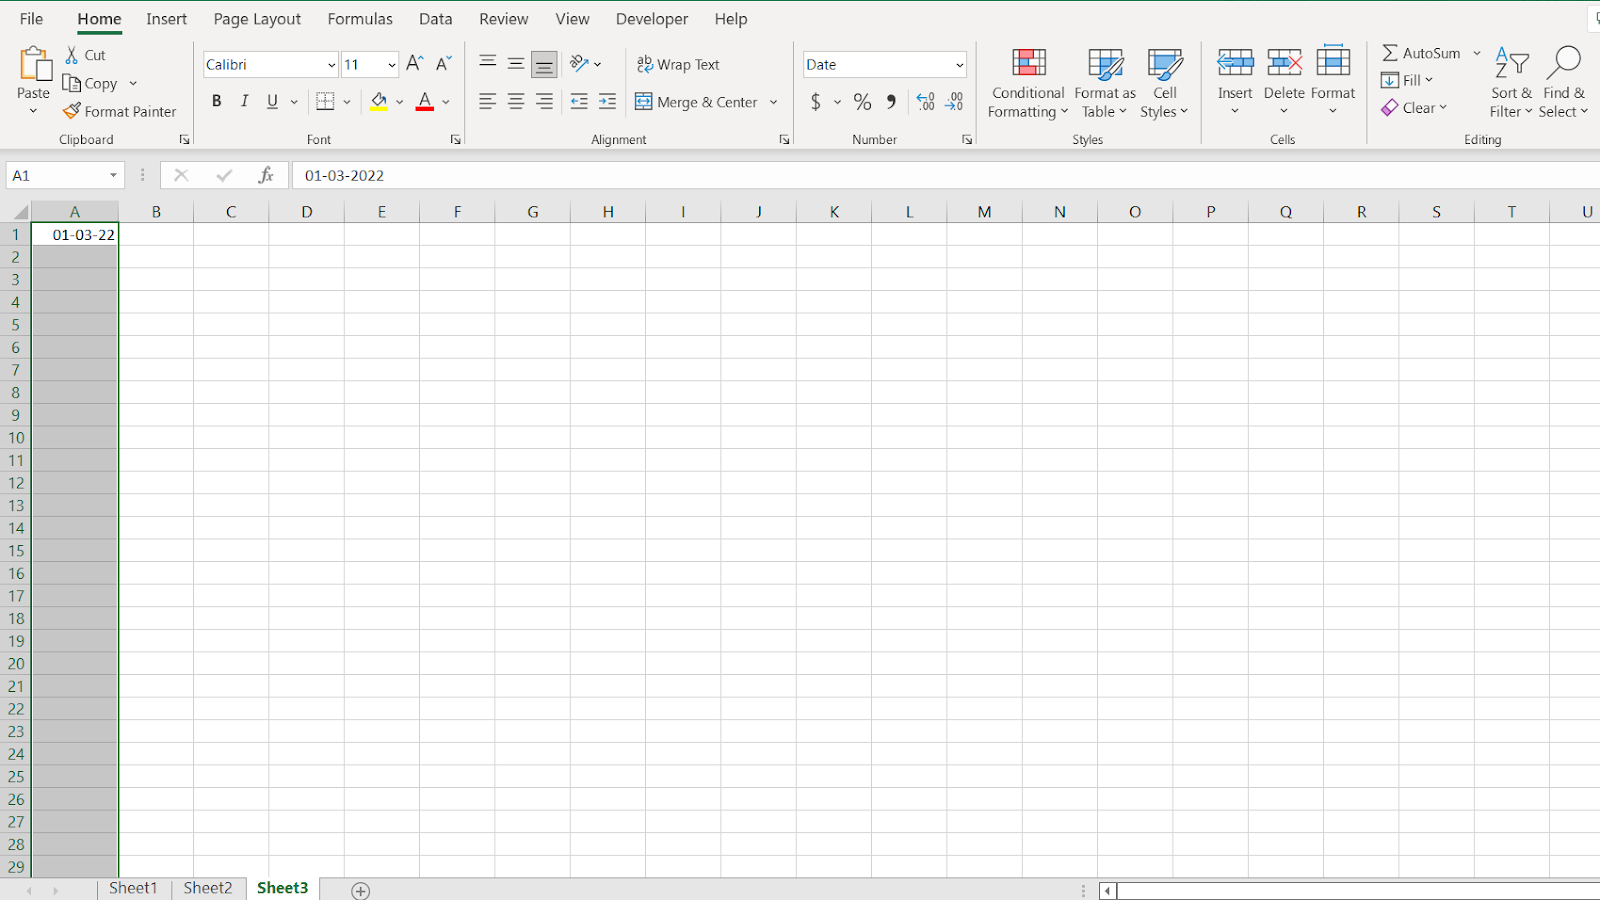
Step 1: Put the first date of march in a cell. I put the date in A1.

Step 2: Go to the “Name box” and select the following 31 cells of that column. Following 31 cells because March has 31 dates.
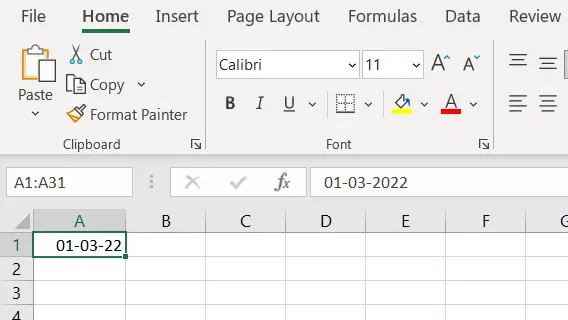
I put my first date in A1 so in order to select the following 31 cells, I typed A1:A31 in the name box.
Step 3: After pressing enter, it will select the next 31 cells.
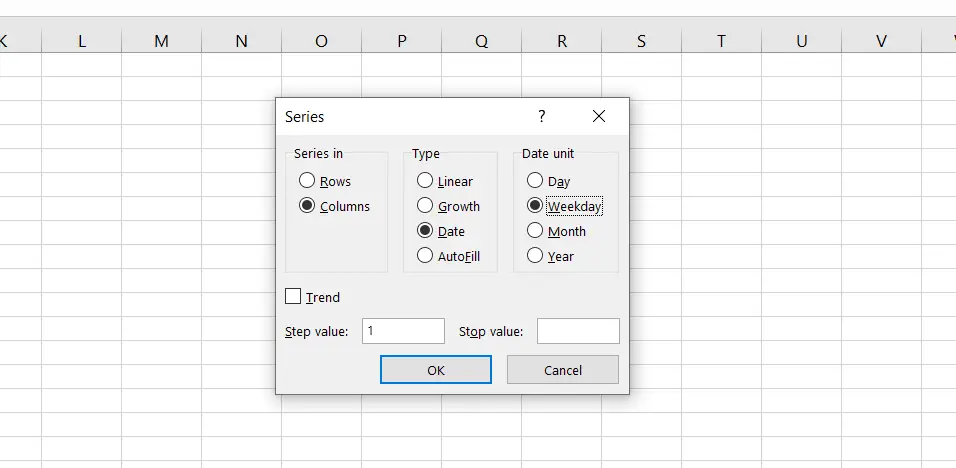
Step 4: Click the “ Fill” option from editing and then click the “Series” option from there.
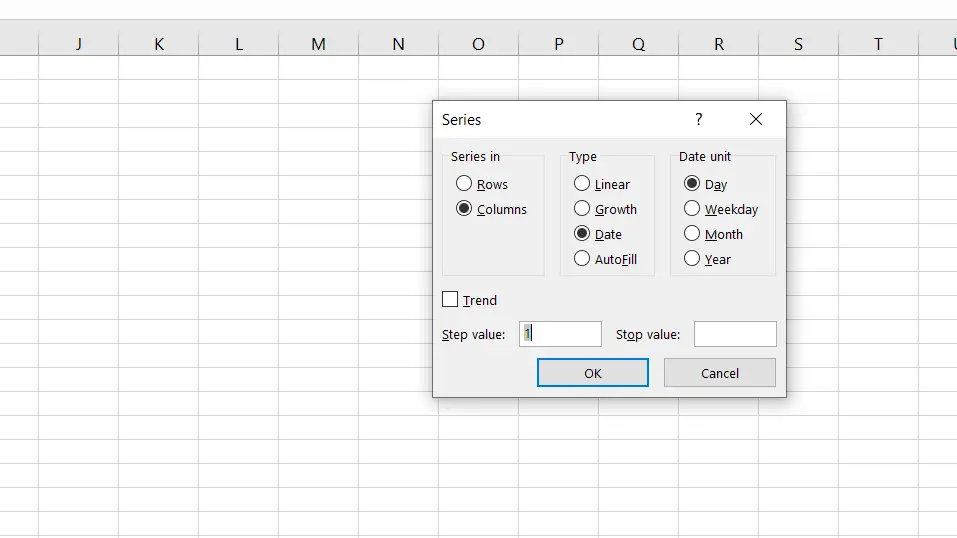
Step 5: Select columns, date, and day, and press ok.
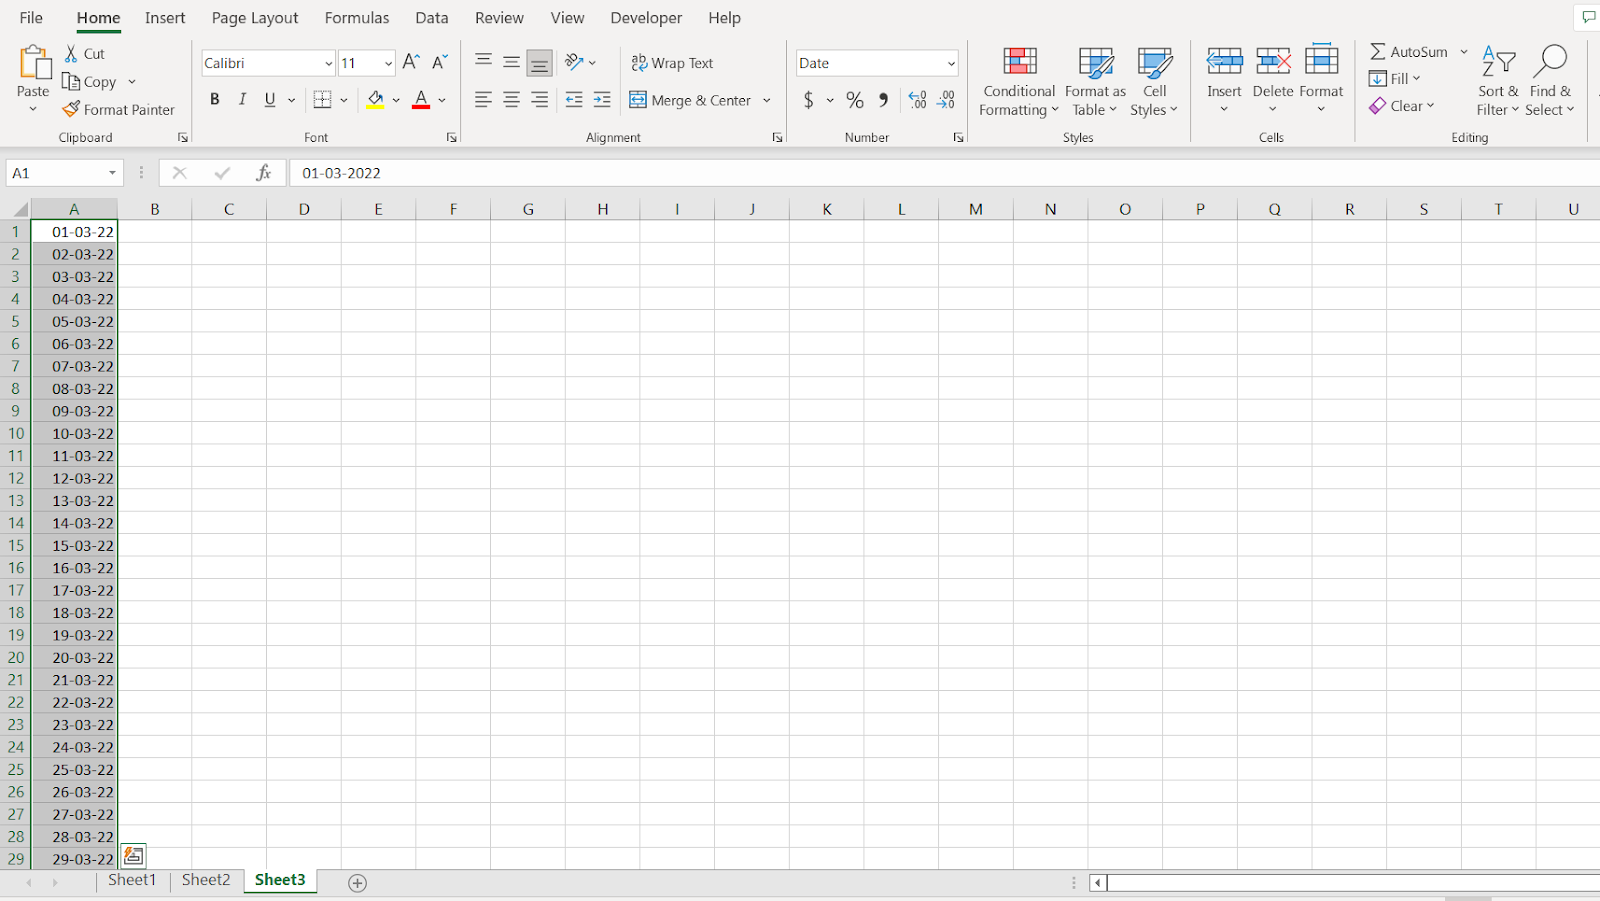
Step 6: it will fill the column with all the dates from March.
Using this method, we can also fill the column with weekdays, months, or even years.
For example, if we want to know all the weekdays from this year or fill the column with a specific date to the next 5 years, we can do it using this method.

Hi! I’m Ahsanul Haque, a graduate student majoring in marketing at Bangladesh University of Professionals. And I’m here to share what I learned about analytics tools and learn from you.