How to Make Headers In Excel [In 2 Easy Ways]
Whether It’s a company name, logo, page number, sheet name, file name, current date, or something else, we need to put it on the header.
So that when we print the Excel sheet, the name or logo is at the top. And we don’t have to insert that in every page of the printed sheets manually.
To do that, we need to learn how to make headers in Excel.
First, click on the “Insert” ribbon > Select the “Text” option on the far right side of the ribbon > And click on the “Header & Footer” option. It will open the headers in the Page Layout view. Or press “Alt + N + ZT + H1”.
There is another way to open the headers within two clicks, which I’ll show in the following sections.
Way #1: Make Headers In Excel From the Insert Ribbon
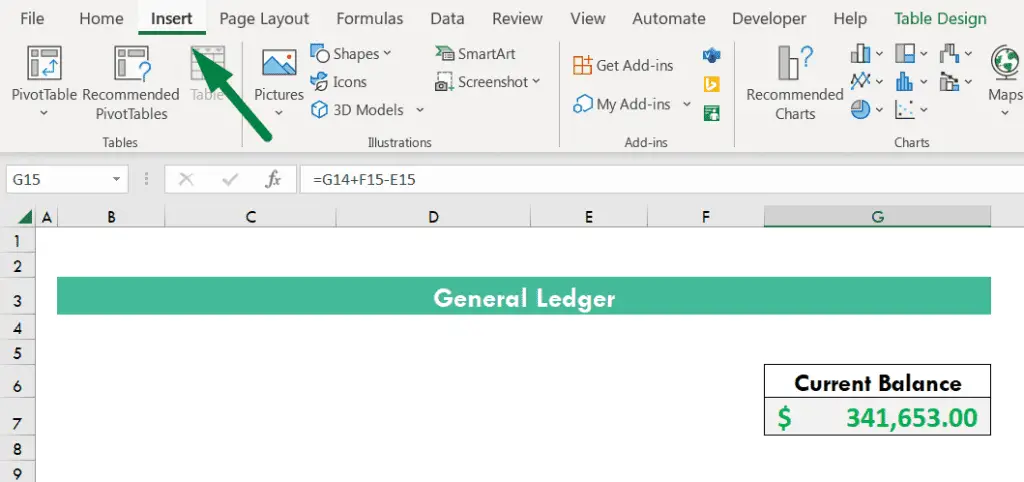
Let’s start with a real-life example. You have a general ledger or something where you want to put the company logo or name on every page when you want to print those pages.
Now, you want to make headers for that, and I’ll tell you exactly how to do that with pictures.
Step #1: Click on the “Insert” ribbon
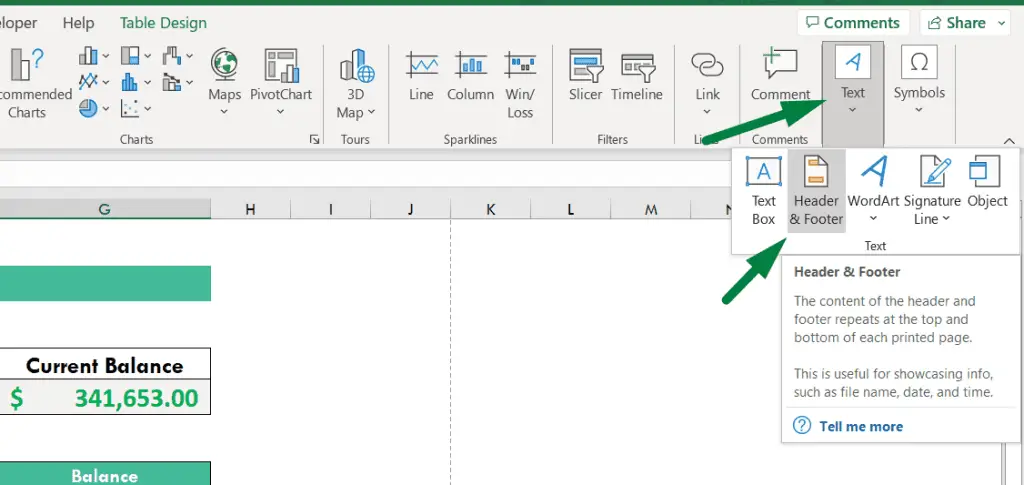
Step #2: Go to the far right side of the ribbon > Click on the “Text” option > And click on the “Header & Footer”
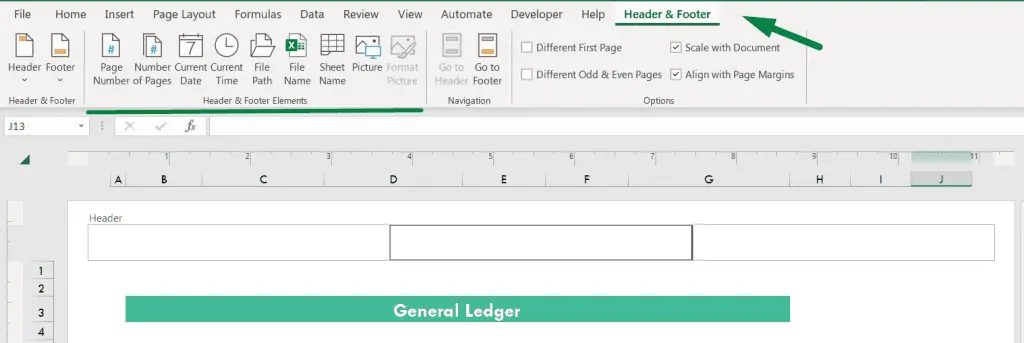
The layout of the page will change, and it will display like this. Or you can press the “Alt + N + ZT + H1” shortcut to open the header and footer options in Excel.
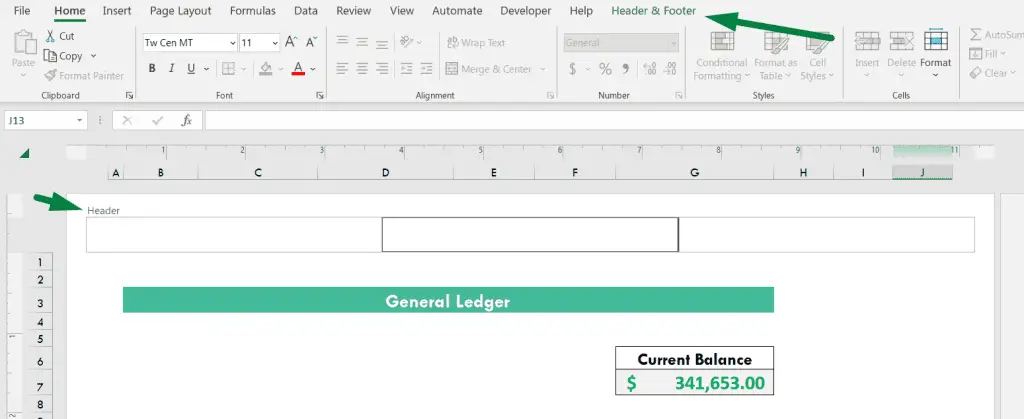
At the top of the page, you will see three boxes aligned left, middle, and right. You can add anything, such as the company logo or name. You can type in your company name or something else in these boxes.
But, if you want to add a picture, page number, sheet name, or file name in the header box, the process is different.
You can also see a new ribbon named “Header & Footer” added to the ribbon panel.
Click on that, and you will see a bunch of options, such as;
- Page Number.
- The number of pages.
- Current Date.
- Current Time.
- File Path.
- File name.
- Sheet Name.
- Picture.
You can add anything of these you want. If you want to add a picture in the header, click on the “Picture” option. It will show a box like this.
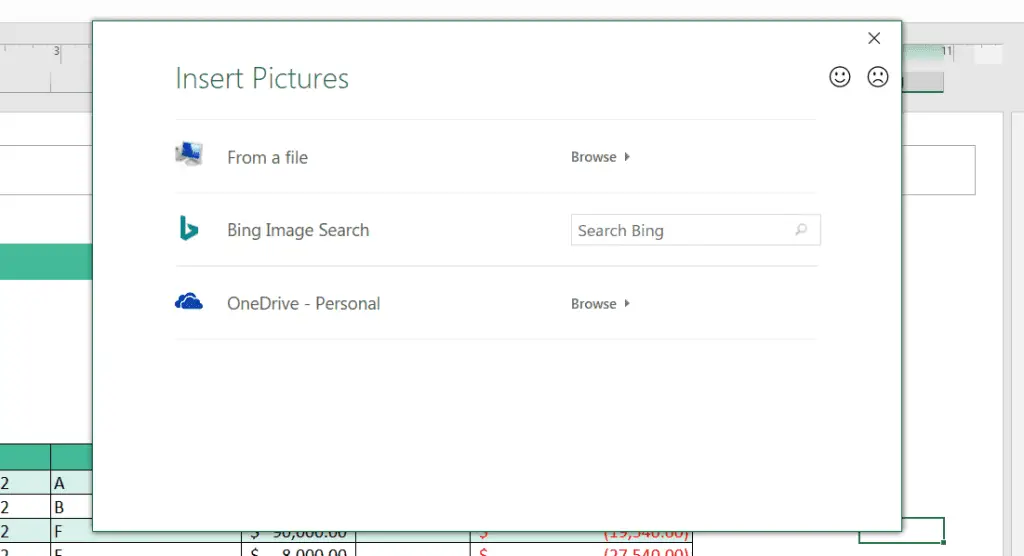
Select your picture, company logo, or whatever you want to put in the header.
Sometimes, the picture size could be larger like this.
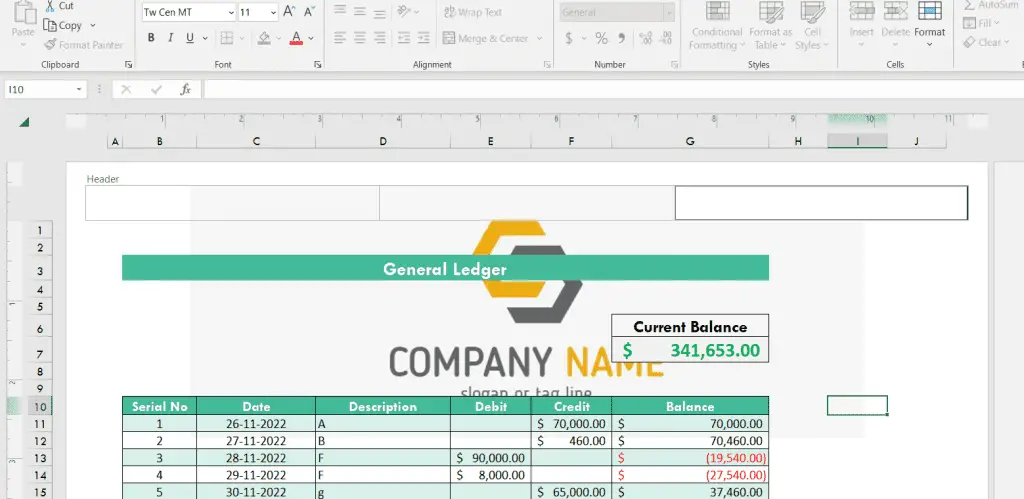
Now, you need to resize it. Go to the “Header & Footer” ribbon again.
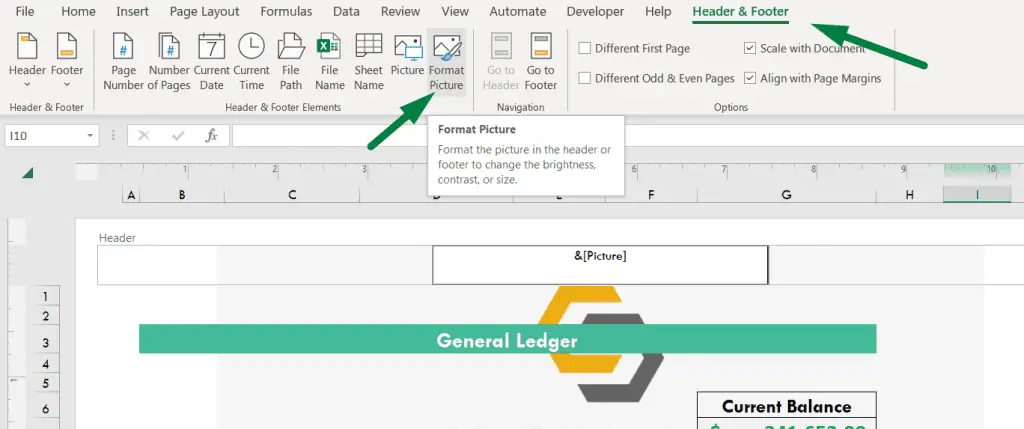
Click on the “Format Picture” option. And it will open a box like this where you can resize the height or width of the picture, among other options.
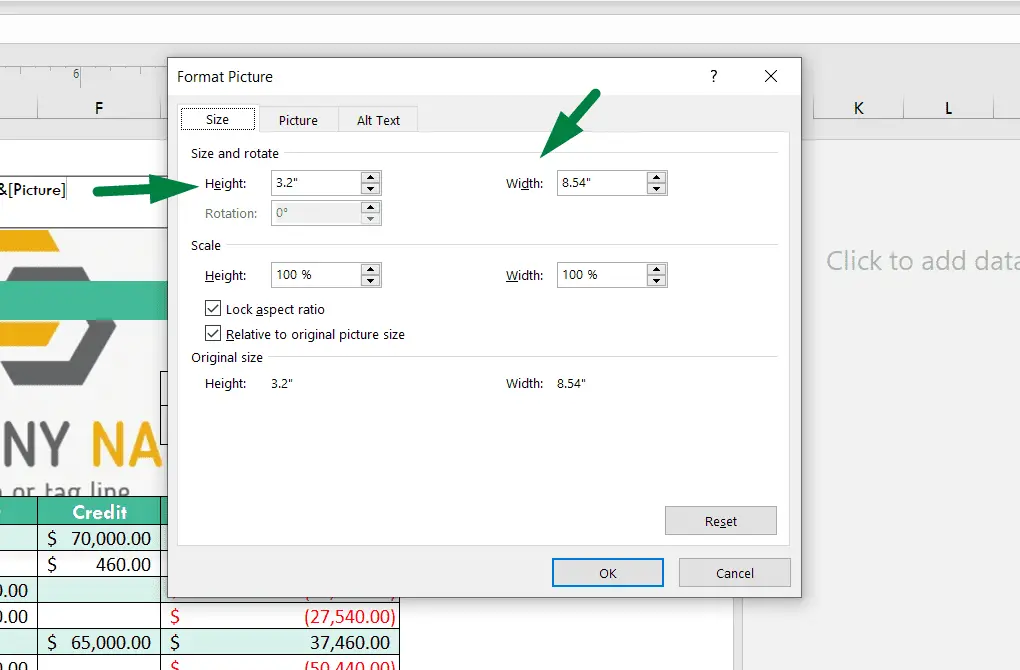
Resize the picture and click ok. Press “Ctrl + P” to go to the print option to see if the logo, company, or whatever you inserted in the header is suited.
Way #2: Make Headers in Excel Within Two Clicks
There is another more straightforward way to open the “Header & Footer” option within two clicks.
You will find Zoom and three-page view options ( Normal, Page Layout, Page Break Preview) at the bottom left corner of every Excel sheet.
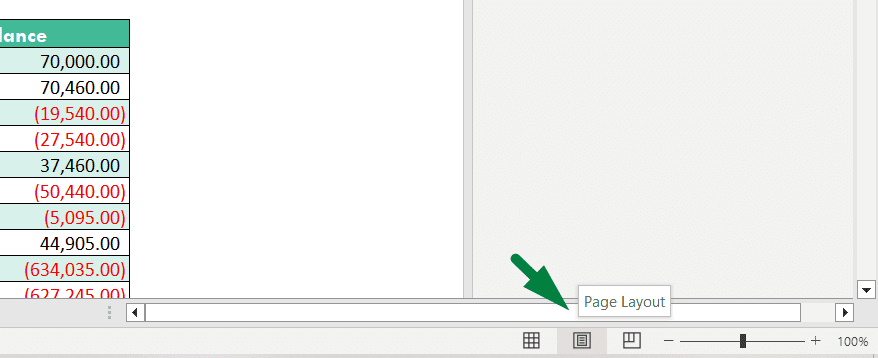
Click on the “Page Layout” option to open the “Header & Footer” option. That’s the first click.
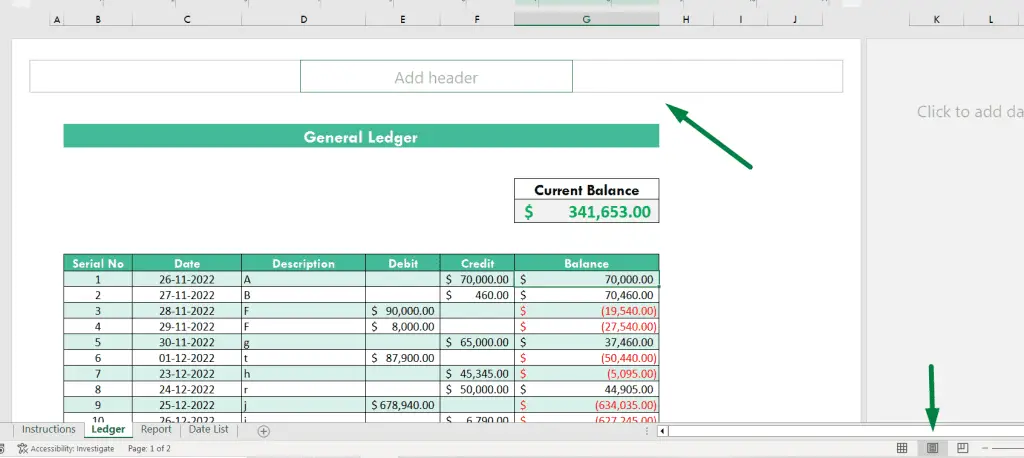
When you’re on the page payout, the “Header and Footer” option will automatically open. Just click on the Header box and insert the logo, name, date, or something. That’s the second click.
Summary
As I showed, you can make headers in Excel in two ways.
Way #1: Go to the “Insert” ribbon > Click on the “Text” option > Click on the “Header & Footer” option. Or press Alt + N + ZT + H1.
Way #2: Click on the “Page Layout” option at the bottom right corner of the sheet > Click on the header option at the top of the page.

Hi! I’m Ahsanul Haque, a graduate student majoring in marketing at Bangladesh University of Professionals. And I’m here to share what I learned about analytics tools and learn from you.